Take a look at this picture of a dress shop in Washington, DC. Gorgeous sewing machines!
link to 1919 dress shop
Showing posts with label sewing. Show all posts
Showing posts with label sewing. Show all posts
Thursday, March 29, 2012
Friday, December 30, 2011
Jacket is Done! Happy dance!!!
Everything is done, and now I also have the pleasure of a proven jacket pattern that fits my daughter well.
Additionally, I can sew more collars any time I want. She still wants one in burgundy fake fur - where in the world I'll find such a fur, I don't know.
Here are the pics.
The front (looks wide because it's got the thick lining, and because I stuffed a dress up around the waist.
 The back - the fur looks really good.
 Details of the wrist cuff - I designed and embroidered a cuff because the pattern was too short in the arms.
 The lining, quilted by me, plus a zipper pocket.
 With the removable collar. There are buttons underneath the small collar so the large collar/capelet can be removed or changed.

Additionally, I can sew more collars any time I want. She still wants one in burgundy fake fur - where in the world I'll find such a fur, I don't know.
Here are the pics.
The front (looks wide because it's got the thick lining, and because I stuffed a dress up around the waist.


Friday, December 16, 2011
Birgit vs Steffi - the great Piluki battle
Today was my last day at work for the year. It's been a long week, but today was particularly nice, because I got everything done early and could go home early.
Now to start on my many holiday projects.
What to do first? I finally settled on something just for me, a piluki. I'd been wanting to make one since Birgit sent me the instructions 6 months ago, and wanted it even more after Steffi demoed it for me at the Bad Herrenalb retreat. But there was never any time - always another project, always something more urgent.
Today I said, Enough! - I'm taking my precious gift of time and giving myself something, the piluki.
But which method? Birgit put a lot of effort in the instructions, so I started with them.
Honestly, though, my poor addled brain couldn't handle the "fold this way, then fold that way, then flip and do it again in the other direction" instructions. So I turned to Steffi's instructions:
Here are the pictures.
Who won the battle? Birgit's fabulous pics kept me on track, but Steffi's folding instructions work better for me. Ultimately, I think they make a great team. They ought to do these things together, maybe we make a video of Steffi doing the project and Birgit makes sure she does it right. Heehee.
Enjoy!


Now to start on my many holiday projects.
What to do first? I finally settled on something just for me, a piluki. I'd been wanting to make one since Birgit sent me the instructions 6 months ago, and wanted it even more after Steffi demoed it for me at the Bad Herrenalb retreat. But there was never any time - always another project, always something more urgent.
Today I said, Enough! - I'm taking my precious gift of time and giving myself something, the piluki.
But which method? Birgit put a lot of effort in the instructions, so I started with them.
Honestly, though, my poor addled brain couldn't handle the "fold this way, then fold that way, then flip and do it again in the other direction" instructions. So I turned to Steffi's instructions:
- Make a quilt sandwich
- Add the zipper
- Fold the cylinder so it goes the way it's supposed to
- Sew the ends of the cylinder shut, being careful to open the zipper enough so you can turn it.
Here are the pictures.
Who won the battle? Birgit's fabulous pics kept me on track, but Steffi's folding instructions work better for me. Ultimately, I think they make a great team. They ought to do these things together, maybe we make a video of Steffi doing the project and Birgit makes sure she does it right. Heehee.
Enjoy!


Wednesday, December 7, 2011
keeping busy on the jacket
Since I couldn't find any appropriate padded lining, I decided to quilt my own.
Here are a couple of pictures. I used a leaf decorative stitch alternating with a straight stitch. I would have done more, but I just need to get this done.
The padding is just a polyester batting, but it should be nice and warm. From these pieces I have to cut the lining pattern pieces, then sew them together. Good that I have a walking foot. Also good that I could stitch 1000 stitches per minute - I really had the Bernina going full throttle tonight!


Saturday, October 29, 2011
I still got it, baby
I haven't sewn a jacket in over a decade, but I still got the basics. Here's the jacket I'm working on for Dear Daughter. She's requested a fake fur dalmatian lined jacket with a red fur collar. So far I've got the shell assembled, and it's ready to have a fitting. We're about to leave for Bochum so we'll get to do the fitting today. There's a small black-lined collar attached that will support the fur collar when I've got that done. With a little luck, I'll be able to attach the fur collar with buttons, so I can embroider and quilt some other collars that she can change when she likes.
Among the techniques I've still got:


Among the techniques I've still got:
- How to attach the inner and outer calendar
- How to ease a princess seam
- How to ease a sleeve cap
- How to tuck the sleeve into the jacket to baste
- How to baste a sleeve in properly (the left sleeve of the jacket)
- How to baste a sleeve in crooked and gathered in the wrong places (the right sleeve of the jacket)


Sunday, September 25, 2011
Old treasures
Even though sometimes you have to say goodbye to a loved one, the small artifacts they leave behind form a bond back to our world.
The most beloved moments of our lives can be seen in a love letter that's almost a hundred years old, or in a can opener with the paint worn off the handle.
One special treasure found in Europe is a template women used to make the embroidery patterns for the linens in the dowry. Hanne has the privilege of having the templates from her forebears.
Here are a couple of pictures.
When a woman got engaged, she bought some of these copper or tin templates, and a little blue ink, and proceeded to stencil the monograms on the kitchen linens, bed linens, etc.
Hanne kindly allowed me to scan her stencils in, so they can be shared with more people. Here are a few of the first scans.


Tuesday, September 20, 2011
Off-kilter quilter podcast and Fancy Nancy
Frances of the Off-Kilter Quilter, has both a blog and a podcast. I recently listened to a podcast in which she interviewed her mother, and realized they were talking in my dialect! I'd always considered it to be just an accent, until I started using some of the words that Frances' podcast connected to in my memory.
Do you know the meaning of these words:
Anyway, Frances has a good piece of this dialect, and her mother is actually living in Louisville. She even knew the best place in the world to buy sewing notions, at least it was till it closed. A. Baer ran the store, which was called Baer's Buttons. Get it? "A. Baer's Buttons" Hahahahaha - love it. They had every button imaginable. Loved that store, sadly now gone.
Frances sews and quilts. One recent picture on her blog included her design wall and a mannequin. Her mannequin is named Betty, and was dressed very cute, so I thought I'd post a picture of my dressmaker's dummy, Fancy Nancy. She gets all the clothing DD leaves behind.
So I reckon youall are purty well discombobulated by this blog post by now. Knowing that you're persnickety about what you read, and because I hafta turn the TV over to the ZDF channel, I better scoot. Here's Fancy Nancy's portrait. Yes, she's wearing not only my daughter's old clothes, but also a feather duster and embroidery and quilt hoops.

Do you know the meaning of these words:
- persnickety
- discombobulate
- reckon
- hafta
- turn the TV over
Anyway, Frances has a good piece of this dialect, and her mother is actually living in Louisville. She even knew the best place in the world to buy sewing notions, at least it was till it closed. A. Baer ran the store, which was called Baer's Buttons. Get it? "A. Baer's Buttons" Hahahahaha - love it. They had every button imaginable. Loved that store, sadly now gone.
Frances sews and quilts. One recent picture on her blog included her design wall and a mannequin. Her mannequin is named Betty, and was dressed very cute, so I thought I'd post a picture of my dressmaker's dummy, Fancy Nancy. She gets all the clothing DD leaves behind.
So I reckon youall are purty well discombobulated by this blog post by now. Knowing that you're persnickety about what you read, and because I hafta turn the TV over to the ZDF channel, I better scoot. Here's Fancy Nancy's portrait. Yes, she's wearing not only my daughter's old clothes, but also a feather duster and embroidery and quilt hoops.

Tuesday, September 28, 2010
Skirt Finished!
Now, in its final version (except for hand-stitching the inner waistband down, I present to you the Bleistiftrock (pencil skirt)! The satin waistband (DD's idea) looks nice, even if the photo seems otherwise.
I'm highly pleased with the outcome, and it's also the first time I sewed in a nearly-invisible zipper, which was easier than I thought. Once you understand how to twist the zipper so it lies correctly on the right side of the fabric, then it's a quick few seams to success.
Things I can't believe about this skirt: DD likes it snug, this is a size 34. I'm wondering how she intends to walk in this thing. Maybe she'll put a slit in.
Also this adapted pattern goes together fast: from cutting fabric to formed skirt took about 5 hours.


Monday, August 30, 2010
FAIL skirt and trip to Hilco

However, it was quickly clear that the cut of the skirt is not at all what she wants. She wants something more like a pencil-skirt, so it's back to the design board. I found a pattern in a 2009 Burda magazine that actually is a pencil skirt, so I'll be cutting that out tonight and making a sloper BEFORE I cut into regular fabric. Good thing I just bought new sloper fabric last Friday at Hilco. I love going there, they have a garage out front at which they sell remnants and seconds. Upstairs in the factory outlet store they have mostly first quality product as well as notions.
I bought pocket lining fabric at 1 Euro per meter to make slopers. I think this one has YSL woven into it, so I'm making a "luxury" throwaway sloper. LOL. There was also some quilt fabric, from Makower if I recall correctly, and I bought some at 8 Euro per meter.
Upstairs I bought some corduroy to make a bag for my plexiglas quilting extension table, and some fabric and a pattern to make a bag. It was a lot of fun to go shopping with my quilting buddy Andrea, and hope to go again soon.
Sunday, August 22, 2010
What is a sloper?
A sloper is
While I'm waiting for her to return the skirt, I took the time to make a sloper. Sewing the sloper went amazingly fast as soon as I created a waistband out of one piece instead of the 30 pieces I used earlier. The skirt was ready within 2 hours.
I always make slopers out of the cheapest fabric I have that is roughly similar to the fabric I want to use in the final skirt. The fabric used in this skirt is a 1 Euro per meter cotton I bought at a factory outlet (Hilco in Leinfelden-Echterdingen).
This skirt was made to fit her waist exactly, and I measured twice to be sure. Then I had enough time to put the ruffles on as well before mailing it off to her.
Here's how the finished sloper looks.

The nice thing about slopers is you can mark them and can take many shortcuts in construction, since you are just using it for fitting. So I marked the waistband, and the waist level, so she can put it in exactly the right place. I also made two different kinds of ruffles, and marked the place where she can compare before telling me which one she prefers.
Here are the markings.


Finally, I used velcro instead of a zipper because it was faster to sew and my girl can adjust it to fit if changes are needed. And I can keep the sloper as long as I need, to compare to other things I sew for her.

- A fabric model of a garment made to fit a particular body
- What is taught at Don McCunn's excellent online classes (his book is also great)
- What I should have done with my daughter's skirt as soon as I realized the waistband had 30 pieces
While I'm waiting for her to return the skirt, I took the time to make a sloper. Sewing the sloper went amazingly fast as soon as I created a waistband out of one piece instead of the 30 pieces I used earlier. The skirt was ready within 2 hours.
I always make slopers out of the cheapest fabric I have that is roughly similar to the fabric I want to use in the final skirt. The fabric used in this skirt is a 1 Euro per meter cotton I bought at a factory outlet (Hilco in Leinfelden-Echterdingen).
This skirt was made to fit her waist exactly, and I measured twice to be sure. Then I had enough time to put the ruffles on as well before mailing it off to her.
Here's how the finished sloper looks.

The nice thing about slopers is you can mark them and can take many shortcuts in construction, since you are just using it for fitting. So I marked the waistband, and the waist level, so she can put it in exactly the right place. I also made two different kinds of ruffles, and marked the place where she can compare before telling me which one she prefers.
Here are the markings.


Finally, I used velcro instead of a zipper because it was faster to sew and my girl can adjust it to fit if changes are needed. And I can keep the sloper as long as I need, to compare to other things I sew for her.

Wednesday, August 11, 2010
My skirt challenge
As I mentioned in an earlier post, my daughter wants me to sew her a skirt and top. In order to fully explain to me what she wants, she drew a picture and sent me a JPEG of the drawing. Actually, it was over a dozen JPEGs, and here's one that's an overview of what she wants.
 Looks pretty conmplex, doesn't it? It is, but the kid is tolerant when I say I can't do one bit or another.
Where am I in this project? The skirt is done at least to the base level. I used a pattern that had the high waistband, and put that together. There aren't any ruffles or the ribbon on the front yet, but that will come after she has tried on the skirt for a fit. I even put in the first turn on the hem, but not the second, so she can mark the length she wants.
This pattern was interesting. When we were in Essen, we went to Demmer Stoffverkauf, and they had a stack of patterns, and you could choose one for free when you spent more than (IIRC) Euro 15. We chose this skirt, and I thought, "Cool, a free pattern, and a skirt at that - ought to be easy."
Well, it's not one of Burda's best patterns, The front and back are just mirror images of each other, but it's the waistband that is the real kicker. Of course it's a pieced waistband, with 5 pieces for the front. But they also pieced the back with 5 more pieces. And the inside of the waistband has 10 pieces. And the interfacing. Yes, that's 30 pieces just for the waistband. I didn't catch that until I'd cut things, so it was a little too late to change, but if I make a second skirt, I will definitely use single pieces for the interfacing and inside, and probably the back waistband as well.
Here's a pic of the skirt up to now. I still have to buy a zipper, which I'll get tomorrow, then mail the skirt off to the kid.

Sunday, July 25, 2010
Squeezing quilty goodness into sewing projects
Dear Daughter needed a curtain to cover a doorway, and wished for one that had black on one side, and zebra on the other. Easily done, and you might recall the buttonholes I made with my nifty 440QE. They can also be seen in the pics below. The chalk mark you might be able to see will be on the inside when the curtains are hanging, so no need to remove them.
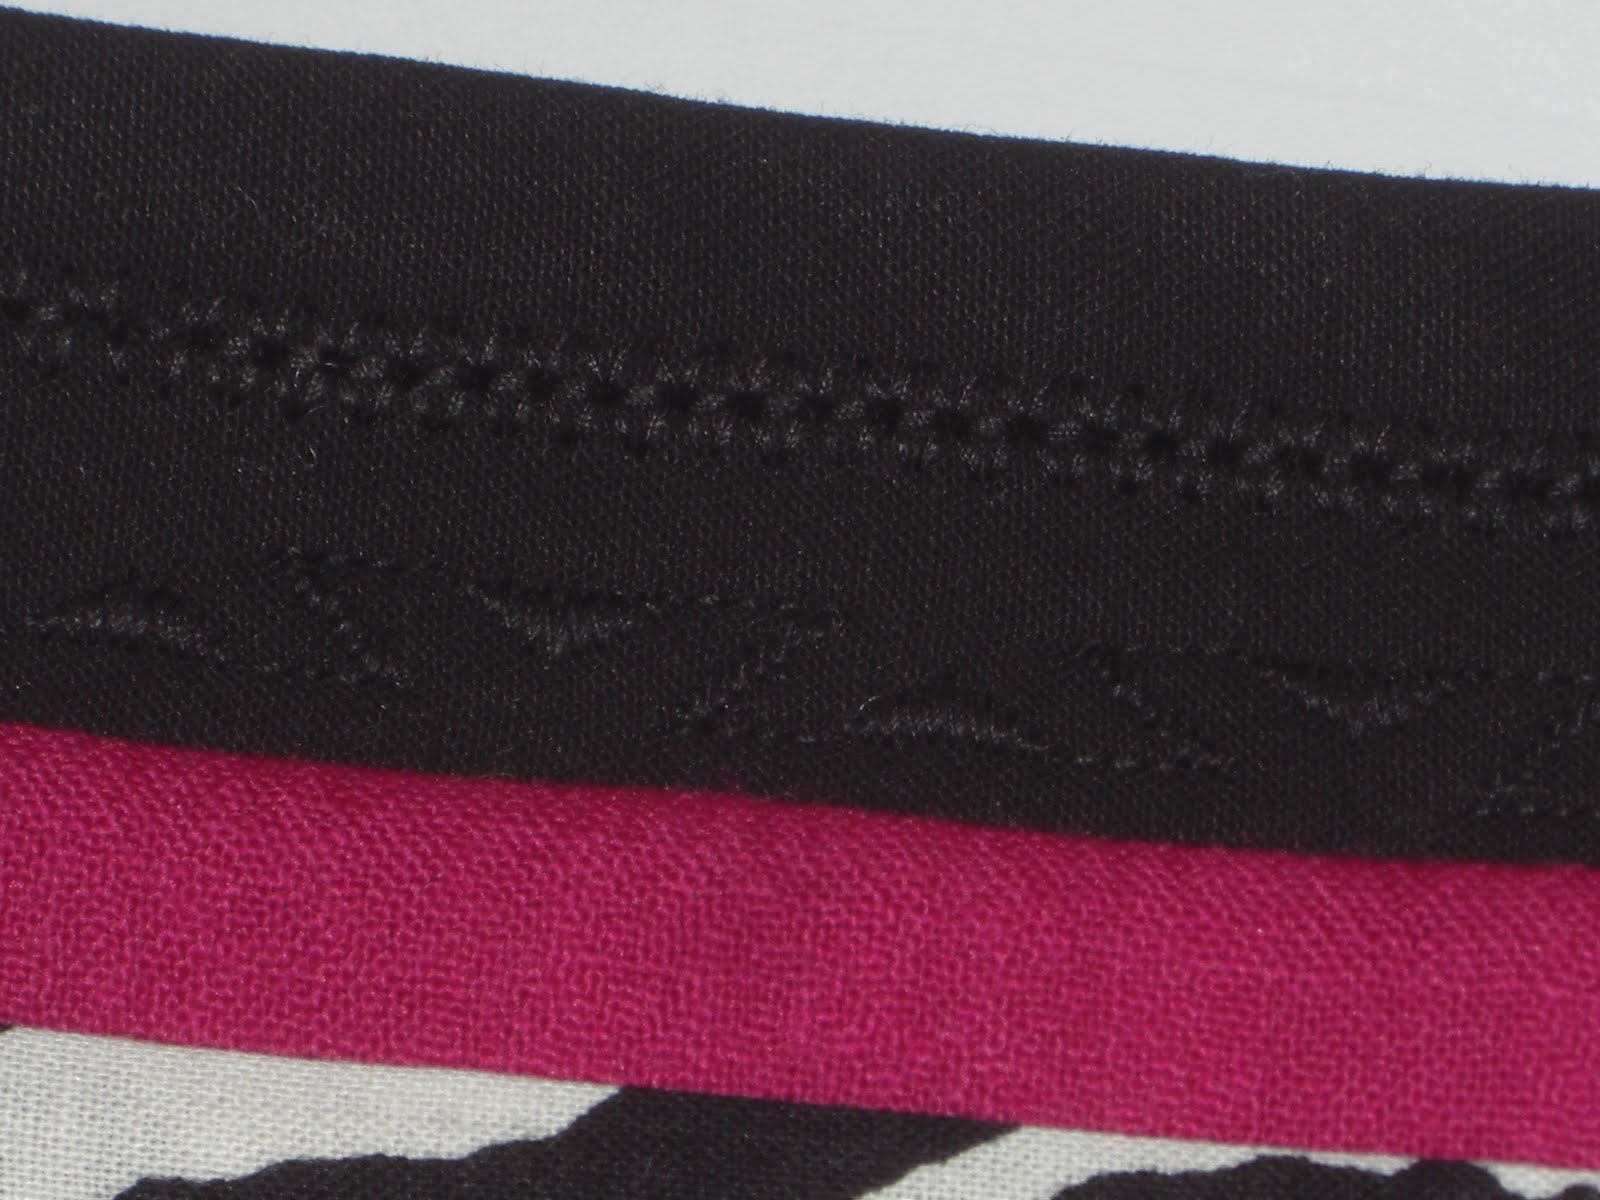
Today I finished a tie-back, so she can pull the curtain away from the door when she wants. I managed to add a little quilting with decorative stitching to the tie-back, even though it needed to be black-on-black.
Here are some pictures, but don't look too closely or you'll see just how much I need to improve my alignment ability of multiple stitch rows. I used the 440 stitches number 128 and 147. Check out the closeups below.


Tuesday, July 20, 2010
Stitch Sampler - a long drink of water

I have been using a Bernina 440QE for several months now, and I LOVE it. It makes so many things easier than I ever imagined. For example, I just sewed a tabbed curtain for my dear daughter, and dear Hubby said I should sew buttonholes and buttons, rather than just sew both ends of the tabs to the curtain. I went into autoimmune mode, not able to imagine sewing 30 buttonholes on the 10 tabs.
When I got to the machine, and started thinking about it, though, it occurred to me that maybe the Bernina (her name is Gertrude Alice) could do buttonholes more easily than I was used to. So I took the time to learn how to do buttonholes with my nifty automatic buttonhole foot.
It was like magic! I measured the button, then sewed the first side of the buttonhole. Then I pressed the reverse button, and the machine stitched the rest of the buttonhole for me!
THEN I learned that I only needed to press the "Add to memory" button, and it would be ready to go at that exact size. Well that also worked perfectly, and my 20 (didn't need the last 10) buttonholes just flew onto the fabric. I was very impressed.
Anyway, that story has nothing to do with the picture. Early last spring, I decided to stitch out every one of the 181 stitches the QE440 has. I chose to do it on both black and white, and I chose to test out several different embroidery threads.
Daughter is holding the full thing, all 2 meters of it (she is over 175 cm herself), and here are some closeups as well. I've hung the finished piece up in my sewing room so I always have a reference to choose stitches.


Subscribe to:
Posts (Atom)