I love this year's BOM from Ula Lenz. Instructions are here. She recommends dark for the background, but I've chosen the fuchsia for the background and the darkest blue/purple for an accent. I'll show you pics as soon as each block is done.
If you want to participate in a group fashion, Quiltfriends.de has a number of members doing the BOM. German language, naturally.
Sunday, January 30, 2011
Tuesday, January 25, 2011
Mug Rug - easily started, easily finished
I hadn't thought it would be so quick and easy to make a mug rug, but it was.
One set of batik scraps (thanks, Birgit!) I sewed into a sort-of log cabin block, then backed it with a piece of McKenna Ryan artsy-fartsy fabric.
My machine quilting pattern is a curvy stipple, broken by freemotion daisies. I really like this pattern (thought of it myself!!) and it went very fast. I quilted the whole 8"x9" rug in about 20 minutes.
The mug rug is going to a relative, something to put on her desk at her new job.
Sunday, January 23, 2011
Back in the sewing saddle again
YeeHaw! Sewing is back in my daily rhythm!
Most of last week's free time was spent deep in learning PHP programming, but this weekend I hit a wall and had to take a break. First on the list was quilting, naturally.
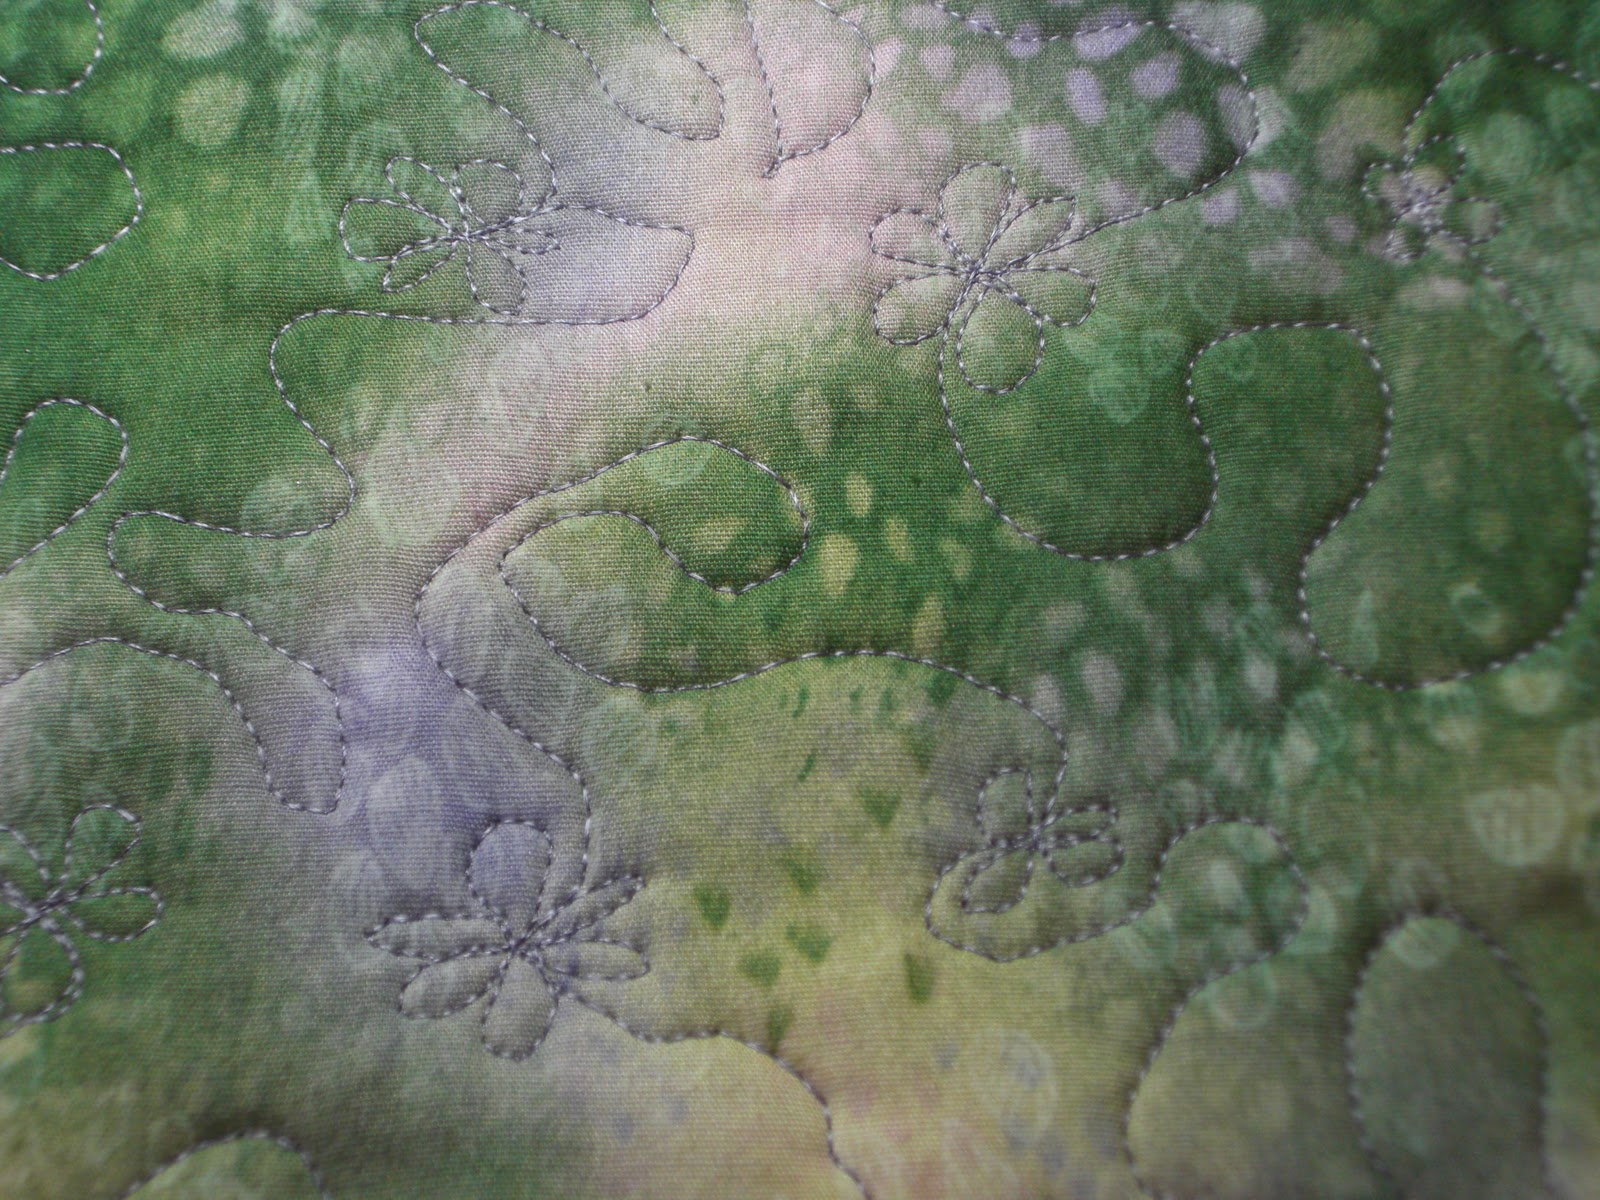
There were two lovely sew-ins on Thursday and Friday, both handwork only, so I worked on my hand-quilting skills using a wholecloth pillow that I keep around for exactly that purpose.
On Saturday I prepped for the next meetings, making the BOM for our raffle and gathering the little things I need to take with me.
Saturday evening I was able to start a mug rug, which I'm doing the binding on as I watch the German movie "Jerry Cotton." Very funny movie, set in the US, about a bunch of FBI agents.
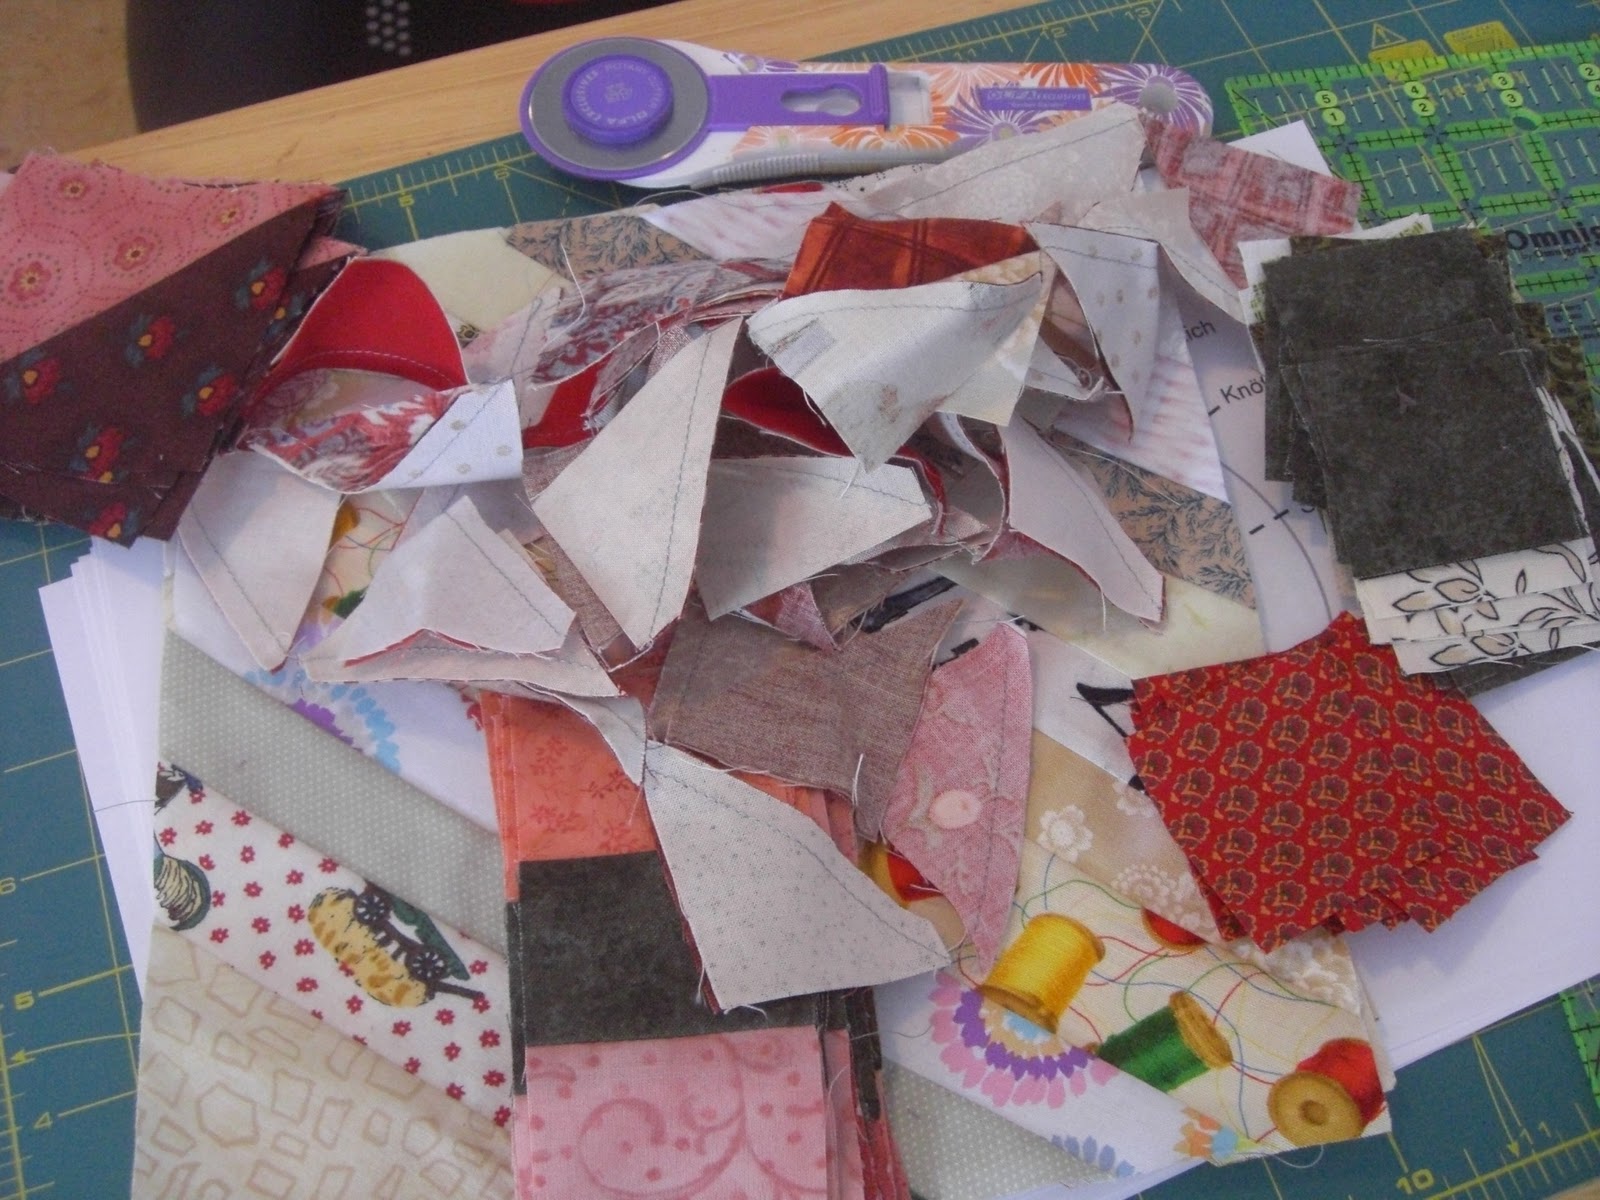
A picture in closing - my current progress on Bonnie Hunter's Roll, Roll Cotton Boll.
Monday, January 17, 2011
A whole stinkin' week without sewing
And that's very annoying, but it had to be done. First I had evening meetings and teleconferences all week, mostly to do with work, and then last weekend I worked pretty much the whole weekend on the requirements for our guild's website upgrade, which is needed and rather urgent.
So that's what I've been doing, and it's just not much fun to take pictures of my research into web hosting providers.
The best part of the last 10 days or so was the mini-retreat we did at the firehouse. It was so much fun to get together with more than a dozen other guild members and just sew, sew, sew. I at least made progress on my Roll, Roll, Cotton Boll. Right now I'm tending toward a size that is about 3 by 4 or 3 by 5 blocks. We'll see.
Labels:
bonnie hunter,
quilt guild,
roll roll cotton boll
Sunday, January 9, 2011
Additional information for Notebook Covers
Here's some more information that might be helpful if you're making a notebook cover:
- The A6 size is about 5.8" by 4.1"
- The A7 is 4.1" by 2.9"
- You can use the 60 degree angle for your A6, but on the A7 that would go from corner to corner, which does not look as good. I recommend about a 75 degree angle for the A7 (you can just eyeball it)
- A nice closure treatment I've seen is to have two fabric loops on one flap, and a third one on the other flap. The third loop is placed to fit between the other two, so when you slide a pen through the loops, it closes the book. Very clever! The loops are perpendicular to the angled edge of the flap
- A good interfacing for the covers is Freudenberg's Decovil in a medium weight. Also Peltex.
- The more complex your outer fabric is, the better it looks
Labels:
decovil,
interfacing,
Notebook cover
Thursday, January 6, 2011
Washing my GFG
After working on it for over a year, and using chalk to mark my quilting pattern, I decided it was time to wash the whole quilt.
So I tossed it in the washer, with a color catcher (ok, 2) and ran it on a cool water silk setting. Then I tossed it in the dryer for 20 minutes on air, and let it dry flat overnight. It took about 14 hours to get completely dry.
Here's a picture of the back, with its beautiful wrinkles. I'm very pleased with the look.
Tuesday, January 4, 2011
Notebook covers A6 and A7
One day at Birgit's shop I saw a notebook cover and it has obsessed me for a few weeks. Even though I only saw it for a few seconds, it seemed simple enough to make. If I recall correctly, the other one even used a pen as a closure. However, since I have a little box full of varied buttons, I chose to use those instead.
The basic pattern is quite simple. I'll post the pdf of my pattern so far, so you can make your own. The biggest problems I encountered were cutting the rectangle large enough to make good points at the pointy ends, and using the right interfacing. The only sturdy interfacing I have in the house at the moment is non-iron-on, so it's not getting quite the effect I want.
But I do think they are pretty, especially when a complex print is used, like the small one.
Sunday, January 2, 2011
Another top assembled! Goose Flower quilt from BOMs
I finished the pre-border piecing of my quilt made from 2 different BOM sets and my flying geese. Now to add borders. After considering a scrappy border, I'm almost decided for a neutral border instead.
It was not nearly as hard to get the blocks sewn together as I thought. When you think about 6 flower blocks, a dozen 16 patches, and over a hundred flying geese blocks, made by probably 30 different quilters, it's easy to imagine that there would be seam and size problems everywhere.
But it didn't happen. I needed to stretch a few of the geese blocks, but hardly any. Of course, I haven't ironed and starched it yet, so I still expect to encounter a few volcanos or other idiosyncracies. Until then, though, it's now time to get started on my Roll, Roll, Cotton Boll mystery from Bonnie Hunter.
Subscribe to:
Posts (Atom)


